Integrations - WhatsApp
Learn how to connect your WhatsApp Business Account to Kipps.AI using Meta’s WhatsApp Business Platform. Step-by-step setup, verification, testing, and troubleshooting for sending and receiving messages, templates, and lead management.
This guide walks you through the complete setup process for connecting your WhatsApp Business Account with Kipps.AI using Meta’s WhatsApp Business Platform.
Two ways to connect: This page covers the standard Cloud API setup (a new or unlinked number). If your number is already live in the WhatsApp Business App and you want to keep using it, see WhatsApp Coexistence instead.
--
Overview
The WhatsApp Integration allows Kipps.AI users to send and receive WhatsApp messages directly through the platform.
This connection uses Meta’s official WhatsApp Business API, ensuring secure, compliant, and scalable communication.
By the end of this setup, your Kipps.AI account will be linked to a verified WhatsApp Business number, allowing you to:
- Automate conversations
- Send message templates
- Manage leads via WhatsApp
Step 1: Start the Integration
-
Log in to your Kipps.AI Dashboard.
-
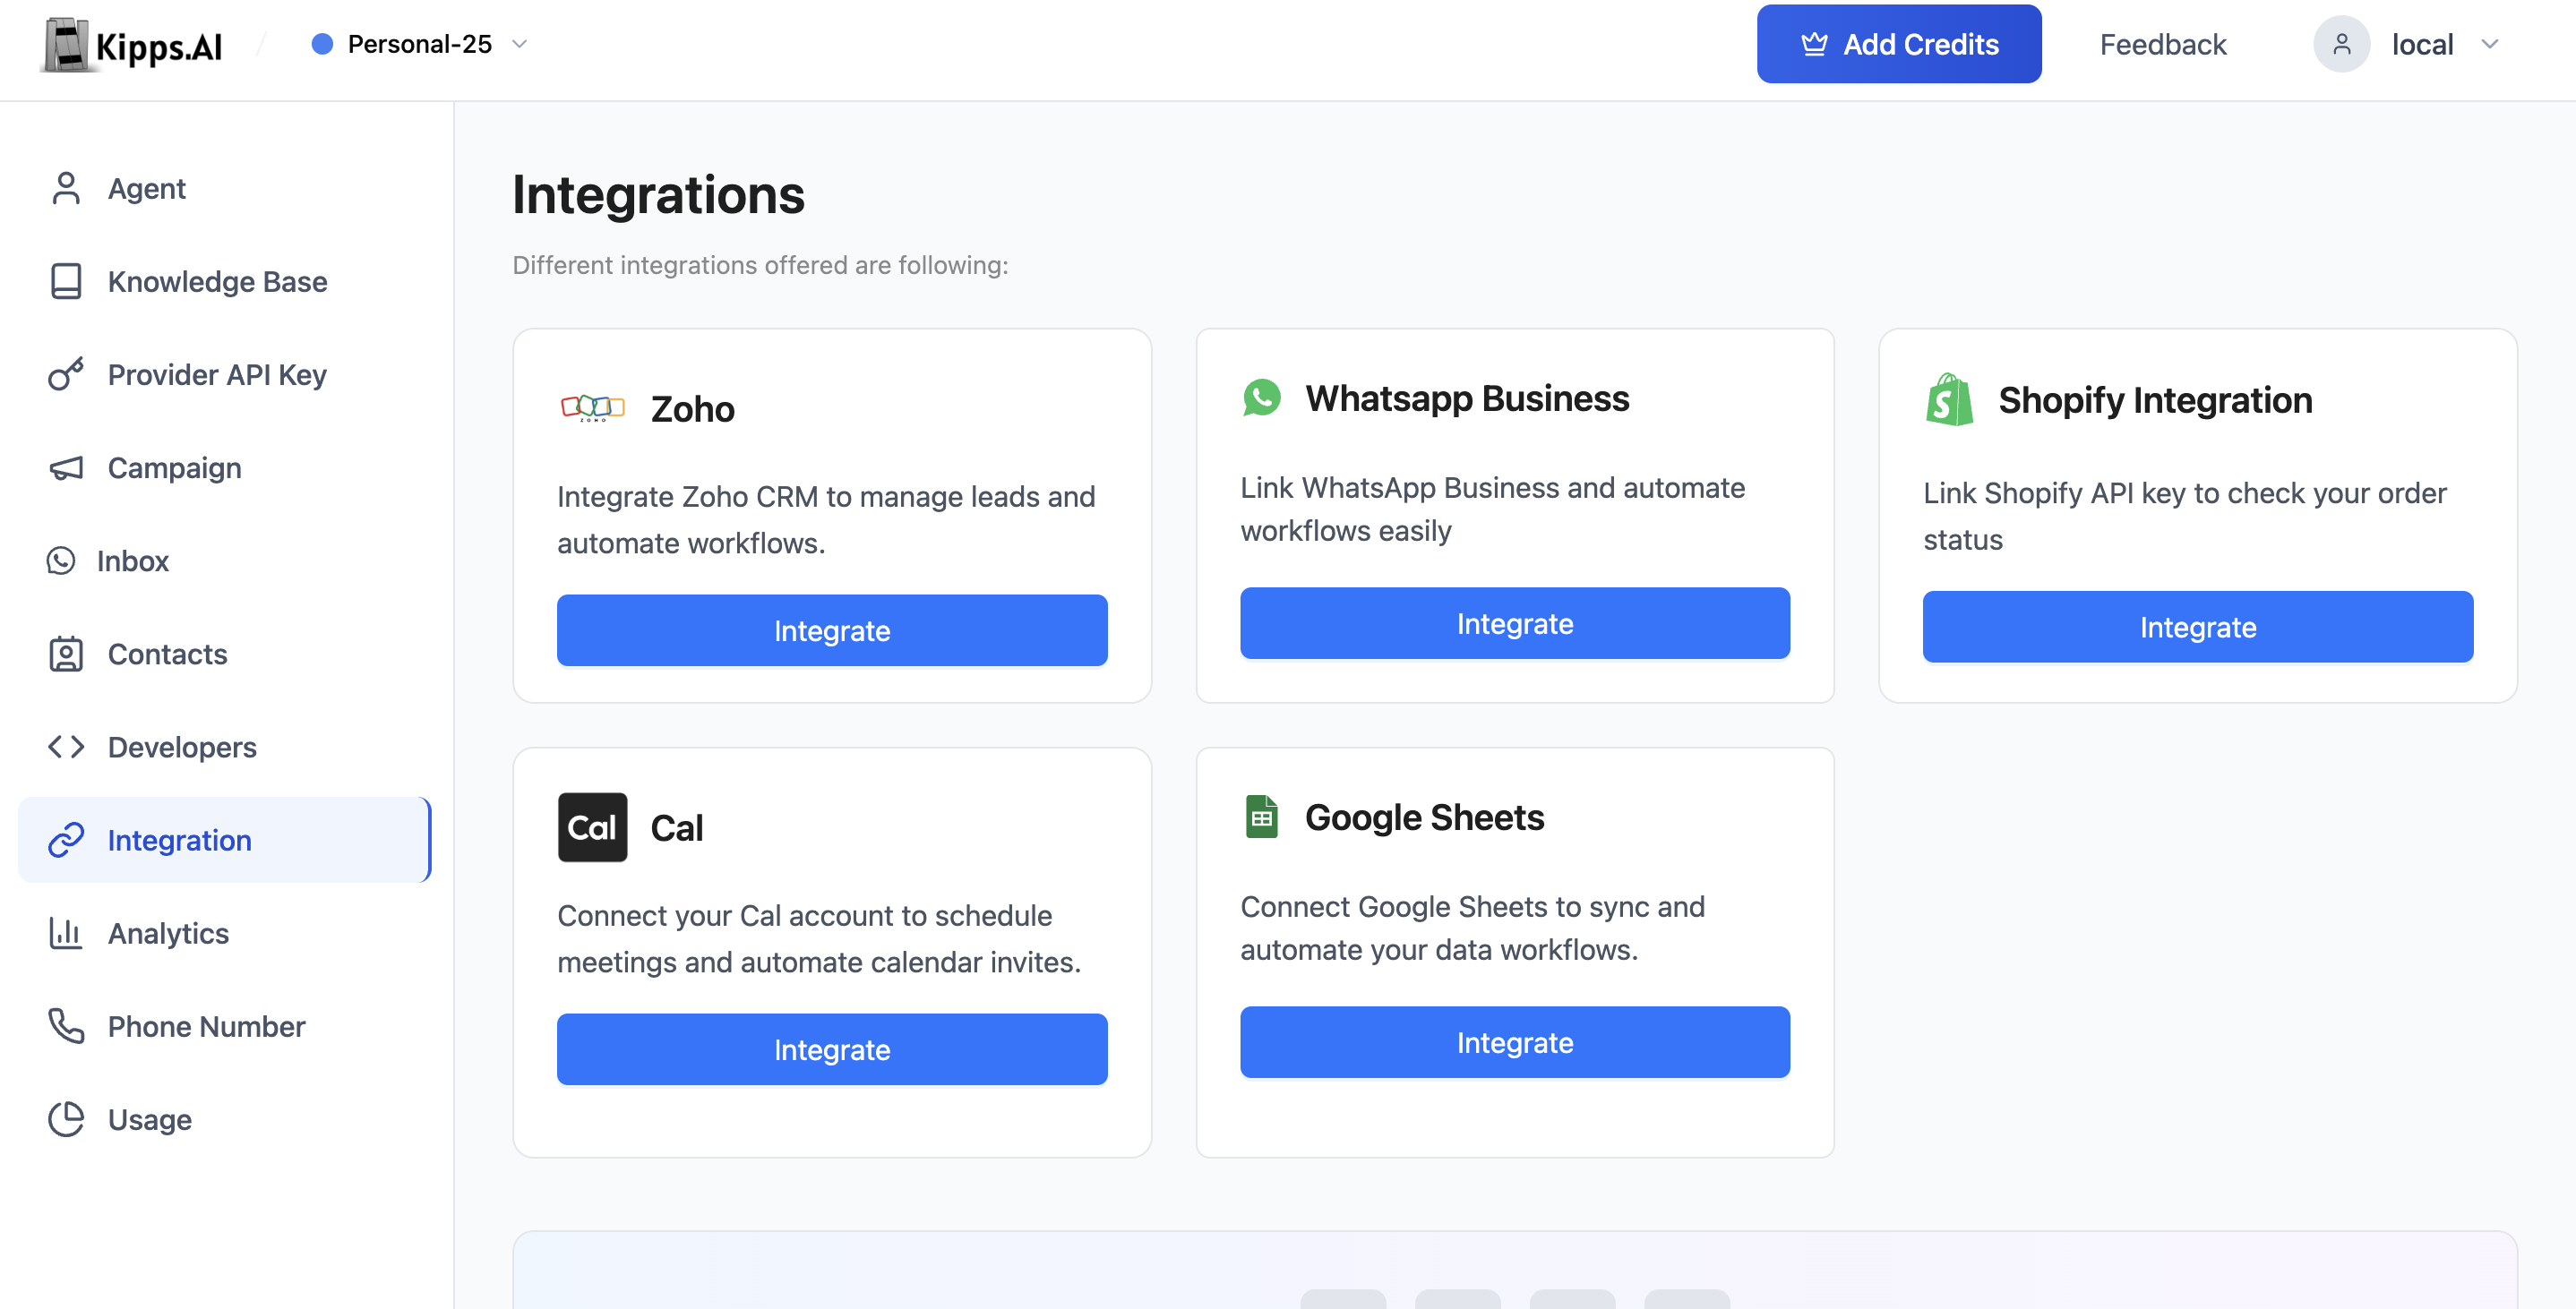
Navigate to Integrations → Whatsapp Business.
-
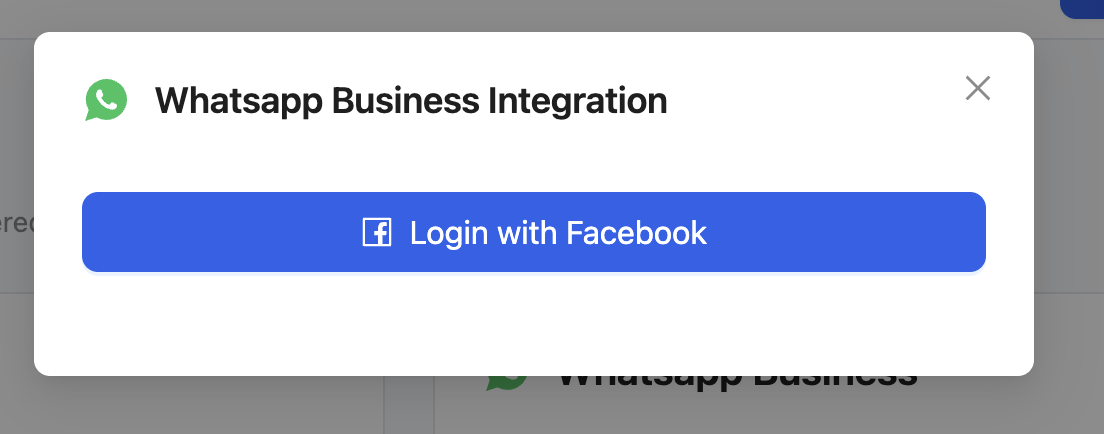
Click “Login with Facebook” to begin the setup process.
-
A Meta authorization window will open.
-
Log in with your Facebook Business account credentials.
-
Grant permission to continue.
Step 2: Grant Kipps.AI Access to Your Meta Business Account
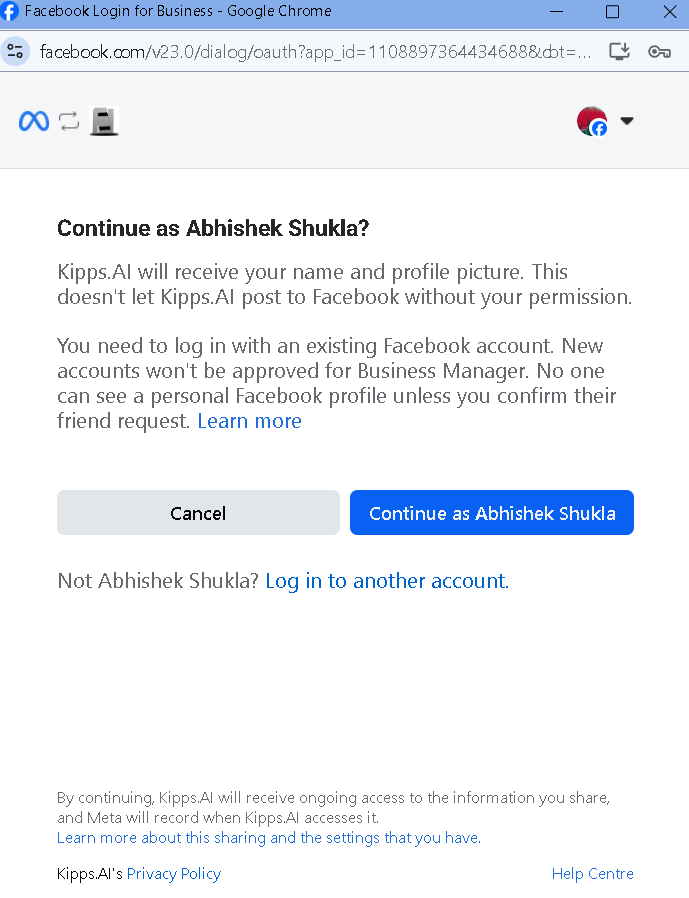
You’ll be asked to give Kipps.AI access to manage your WhatsApp Business assets.
This allows Kipps.AI to send messages, create templates, and handle WhatsApp communications on your behalf.
Steps:
- Click “Continue as [Your Name]” when prompted.
- Select the Facebook Business Account you want to connect.
- Review and grant all requested permissions.
- Click Continue to proceed.
Step 3: Fill in Your Business Information
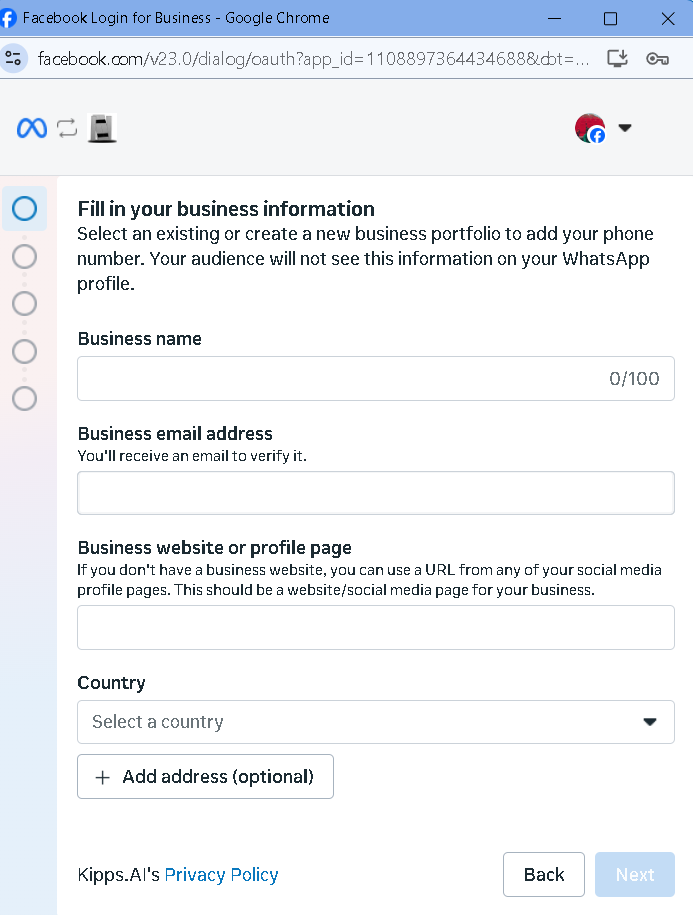
You’ll now see a screen titled “Fill in your business information.”
Fields to Complete
| Field | Description | Example |
|---|---|---|
| Business Portfolio | Choose existing or create new | Name |
| Business Name | Auto-filled from your Meta profile | — |
| Business Website or Profile Page | Enter business URL | https://xyz.com/ |
| Country | Select your country | India |
| Address (Optional) | Add if required | — |
Once all details are correct, click Next.
Step 4: Connect Your Account to the Service Provider
You’ll now be asked to connect your WhatsApp Business Account to
Derived Mind Technologies Private Limited — the authorized Meta Business Solution Provider working with Kipps.AI.
This step allows the provider to securely manage WhatsApp messaging on your behalf.
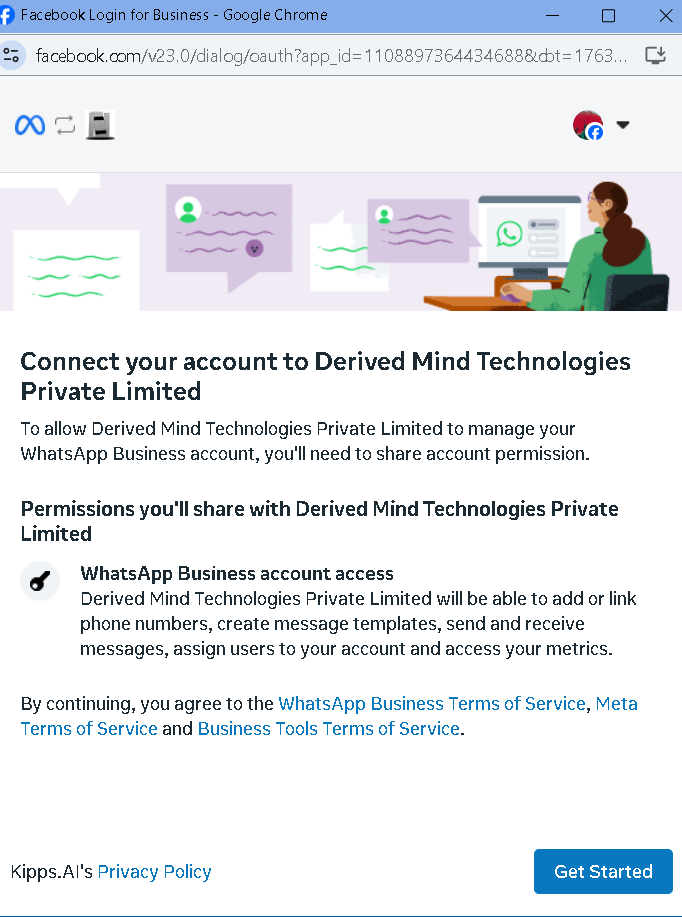
Permissions Shared Include:
- Adding or linking WhatsApp numbers
- Creating and managing message templates
- Sending and receiving messages
- Assigning users to the WhatsApp Business Account
- Accessing message analytics and delivery metrics
Click “Get Started” to continue.
Step 5: Add Your WhatsApp Phone Number
You’ll now add a WhatsApp number to your business account.
Choose one of the two options below:
Option 1: Use a Display Name Only
Ideal for testing or sandbox environments.
(No real phone number required.)
Steps:
- Select “Use a display name only.”
- Enter a display name (e.g.,
Kipps.AI Support Bot). - Click Next.
Meta assigns a temporary system number behind the scenes.
You can now test message templates and flows within Kipps.AI.
Note: You can’t receive real customer messages in this mode.
Option 2: Add a Real Business Number
Recommended for production/live environments.
Steps:
- Select “Add a new number.”
- Enter the phone number you want to use for WhatsApp.
- Ensure it’s not linked to any existing WhatsApp account.
- Choose a verification method (SMS or Voice Call).
- Enter the received 6-digit verification code.
- Once verified, click Next to continue.
Your number is now officially linked to your WhatsApp Business Account.
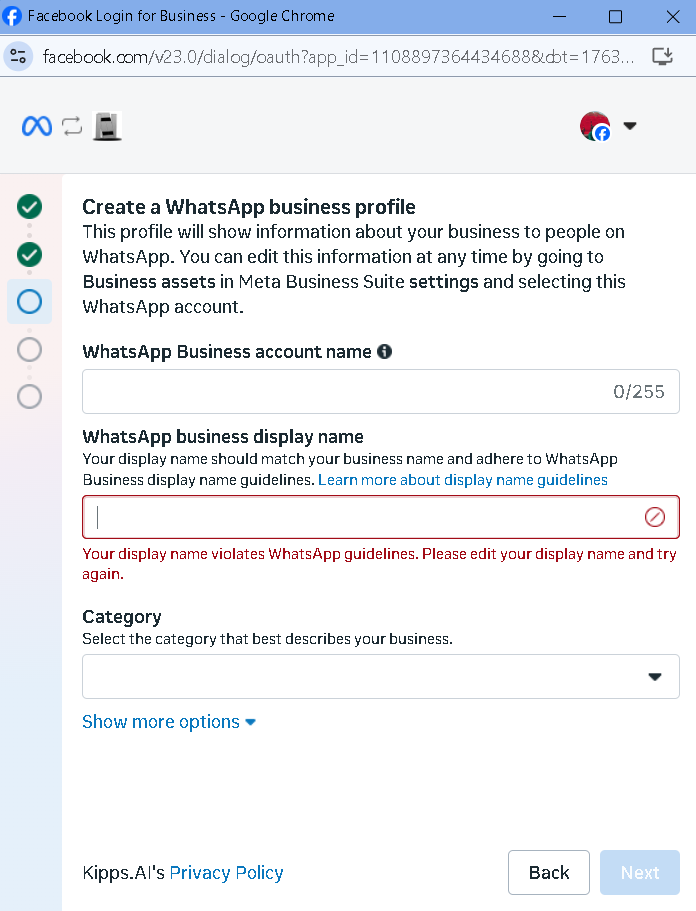
Step 6: Create or Select Your WhatsApp Business Account
After verifying your number, you’ll see “Create or Select a WhatsApp Business Account.”
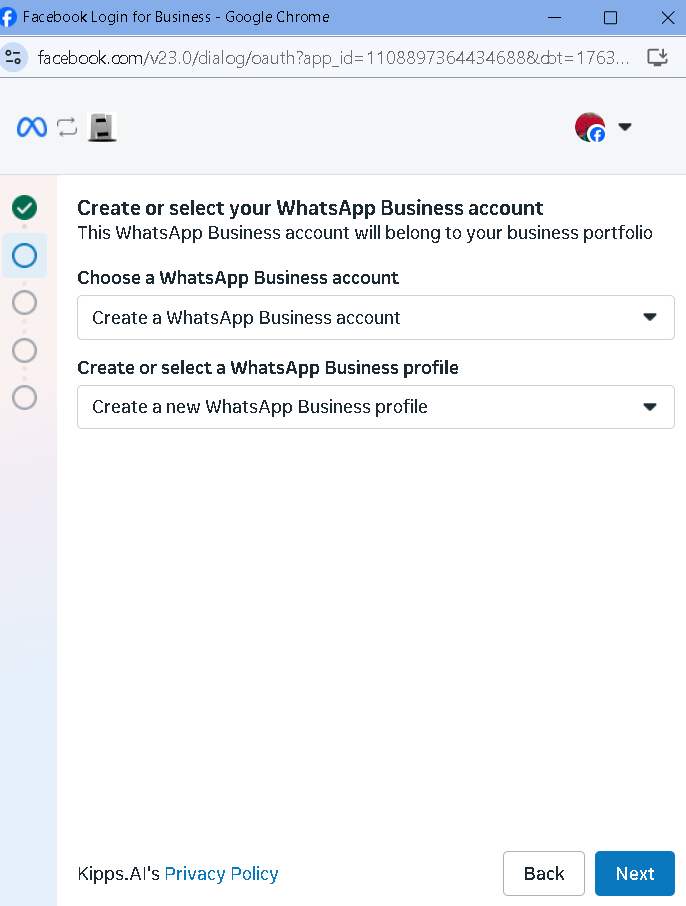
Steps:
- Select an existing account or create a new one.
- If creating a new account, enter:
- Business name
- Description
- Business category and contact details
- Keep the option “Instruct Meta to automatically identify order and lead events” checked —
this enables structured data tracking for Kipps.AI automation. - Click Next to continue.
Step 7: Finalize the Integration
Once all steps are complete:
- Meta will confirm your WhatsApp Business Account setup.
- Kipps.AI will automatically sync your verified number and profile.
- You’ll be redirected back to your Kipps.AI Dashboard.
You’re now ready to start sending and receiving WhatsApp messages directly within Kipps.AI!
Step 8: Test Your WhatsApp Connection
- In Kipps.AI, go to Integrations → WhatsApp → Settings.
- Send a test message to confirm successful integration.
- Check your WhatsApp inbox for delivery confirmation.
If successful, your setup is complete!
🛠️ Troubleshooting Tips
| Issue | Possible Cause | Solution |
|---|---|---|
| Verification code not received | Number linked to another account | Unlink the number from WhatsApp app and retry |
| Integration stuck on loading | Browser cache or permission issue | Clear cookies and re-login |
| Message templates not sending | Template not approved by Meta | Wait for approval or edit template |
📈 Next Steps
Once your WhatsApp integration is live, you can:
- Create automated flows for lead capture and follow-up
- Use approved templates for customer notifications
- Manage chat history and analytics directly in Kipps.AI
Support
If you face any issues during setup:
- Visit the Help Center in your Kipps.AI Dashboard, or
- Contact support@kipps.ai for personalized assistance.
© 2025 Kipps.AI — All Rights Reserved
Frequently Asked Questions
Can I connect a personal WhatsApp number to Kipps.AI? No. Kipps.AI integrates with WhatsApp Business API numbers only. Personal WhatsApp accounts are not supported. You need a WhatsApp Business Account registered through Meta and a phone number approved for WhatsApp Business API access.
What happens to existing conversations if I disconnect and reconnect the WhatsApp integration? Existing conversation records in Kipps.AI are retained. However, active session windows (the 24-hour messaging window) may be affected. Reconnecting re-establishes the webhook and resumes automated responses for new incoming messages.
How many WhatsApp numbers can I connect to a single Kipps.AI organization? You can connect multiple WhatsApp Business numbers, each assigned to a separate WhatsApp Agent in Kipps.AI. There is no fixed limit on the number of integrations within an organization — the limit depends on your Meta Business account and Kipps.AI subscription plan.
Do I need Meta Business Verification to use the WhatsApp integration? For basic functionality, Business Verification is not always required at signup. However, without verification your messaging volume will be limited and you will not be eligible for the Official Business Account (Bluetick) status. Meta Business Verification is strongly recommended for production deployments.
Can I use one WhatsApp number for both automated AI responses and manual team replies? Yes. Use the WhatsApp Inbox's Manual Reply Mode to pause AI automation and respond manually. Switch back to AI Mode when automation should resume. Both modes use the same connected WhatsApp number.
Related Articles