Create Campaign for CSV Audience
Learn how to upload a custom contact list via CSV and launch automated Voicebot campaigns using Kipps.AI’s campaign builder.
Launching a campaign with a CSV audience allows you to target a custom list of contacts by uploading a CSV file. This guide walks you through every step, from preparing your audience to launching and tracking your campaign.
1. Prepare and Upload Your Audience
Go to the Audience Section
Navigate to the Audience page from the main dashboard.
Create Audience
Click the Create button to start a new audience.
Upload CSV File
- Click the upload area or drag and drop your CSV file.
- The CSV must include at least a phone number column (international format recommended, e.g.,
+1234567890). - Download the provided CSV template for correct formatting if needed.
Map Fields
- Select the column that contains phone numbers.
- Select the column that contains names.
- Preview the first few rows to ensure correct mapping.
Name and Save Audience
- Enter a name and (optionally) a description for your audience.
- Click Submit to save.
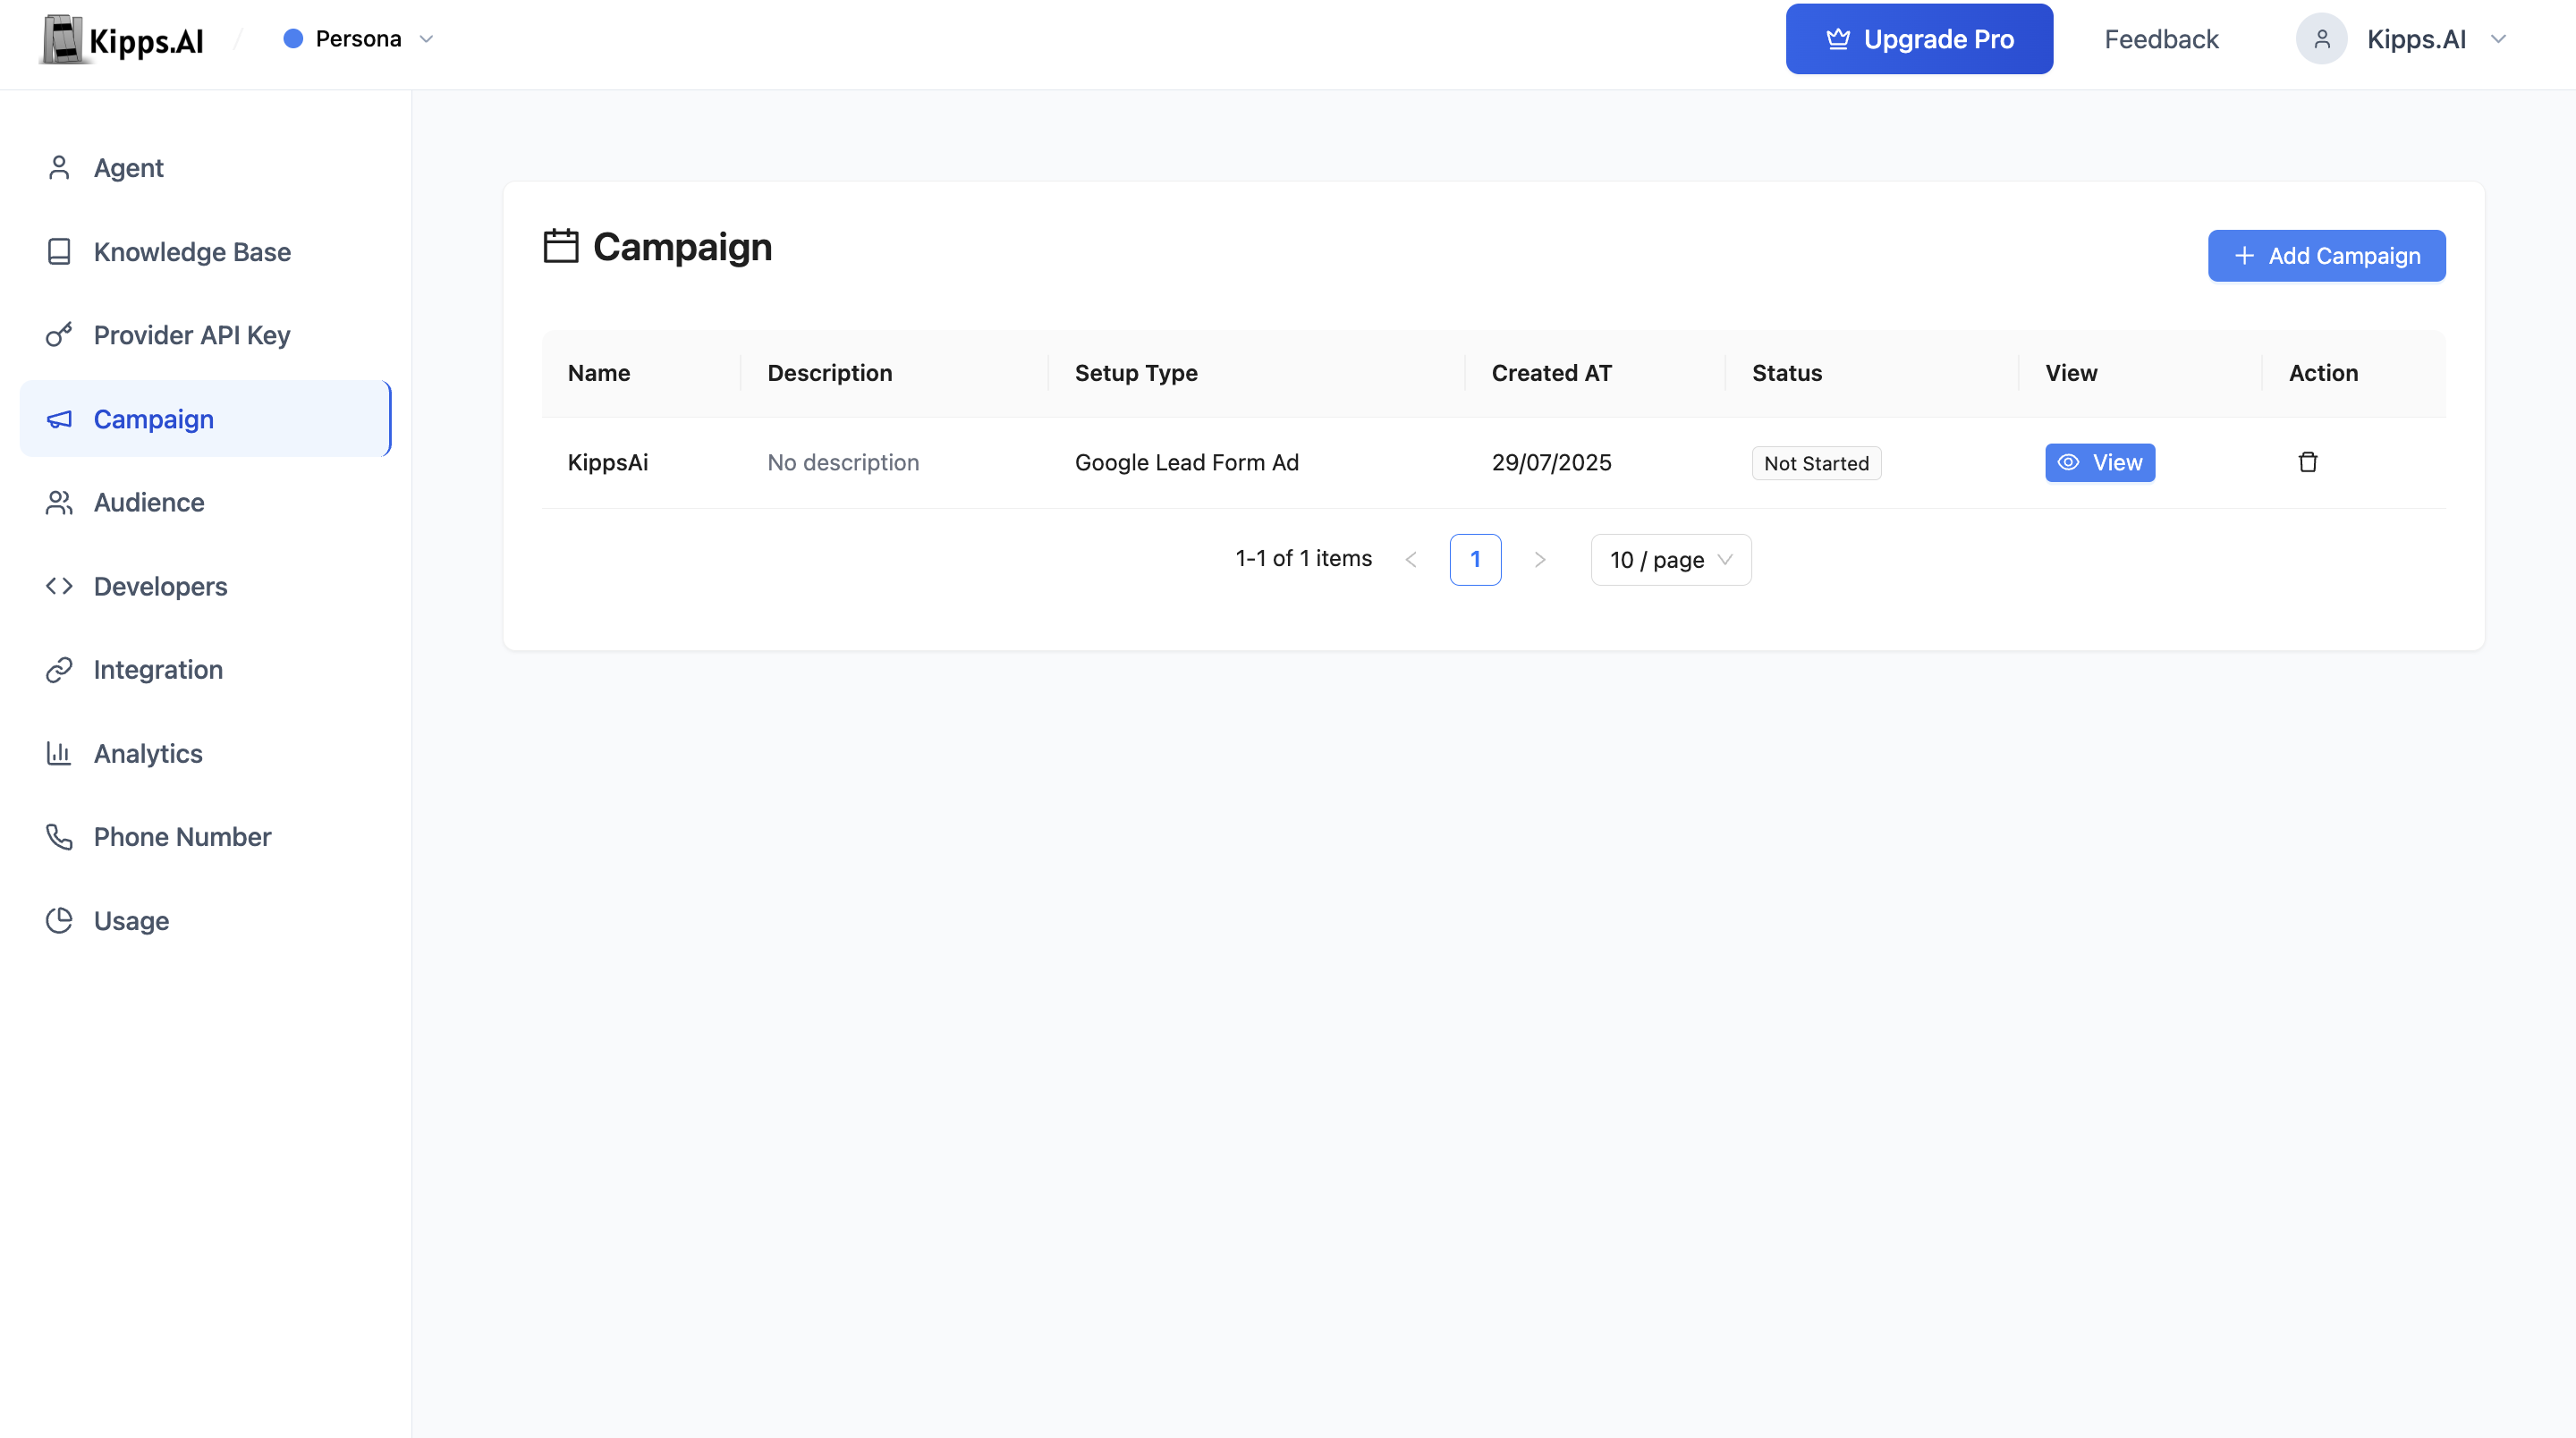
2. Start Creating a Campaign
Go to Campaigns
Navigate to the Campaign tab.
Add Campaign
Click the Add Campaign or + Create Campaign button.
3. Fill Campaign Details
Campaign Name
Enter a descriptive name for your campaign.
Description
Add details about the campaign’s purpose.
Duration
Set how many days the campaign should run.
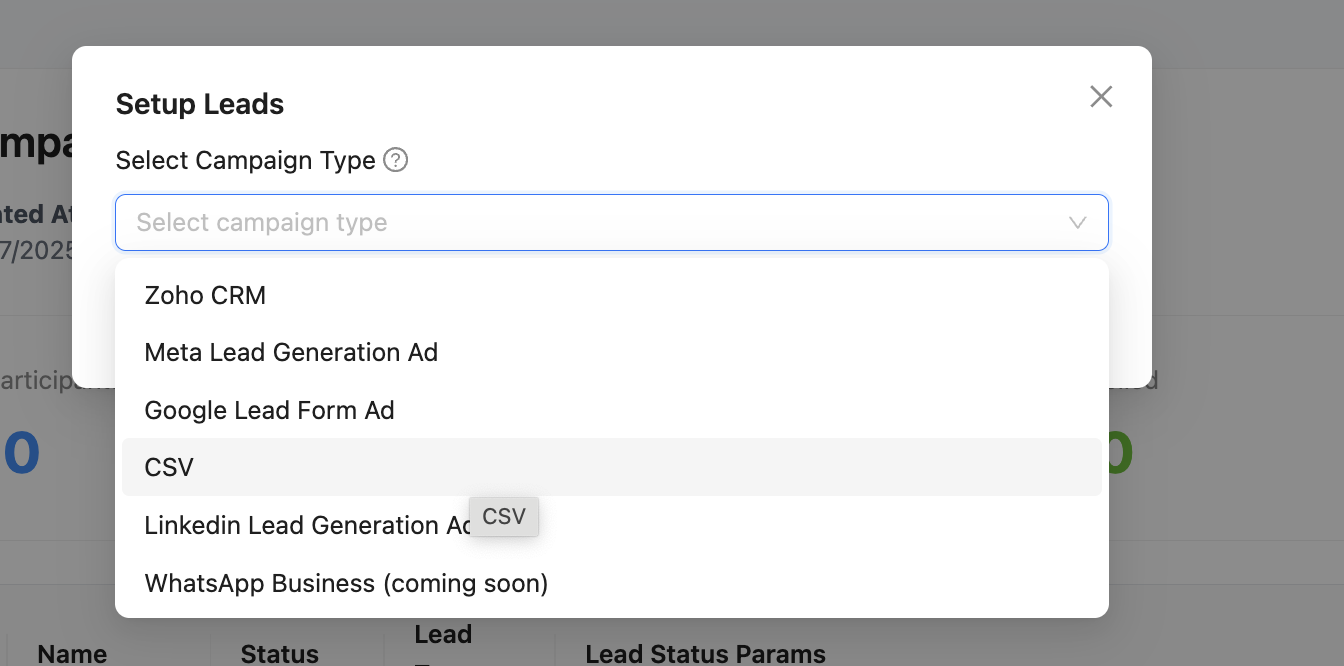
4. Select Setup Type as CSV
Setup Type
In the campaign creation form, find the Setup Type or Audience Source field.
Choose CSV
Select CSV from the dropdown or list.
This tells the system to use your uploaded CSV audience.
5. Choose Your Audience
Audience Selection
After selecting CSV, choose your saved audience from the dropdown list.
6. Configure Campaign Settings
Select Voice Agent
Choose the AI voicebot that will make the calls (for voice campaigns).
Initial Message
Set the opening message the bot will deliver.
System Prompt (Optional)
Provide instructions for the bot’s behavior.
Lead Qualification Prompt
Define how the bot should qualify leads.
Lead Qualification Params
Add any custom fields you want to collect or qualify (e.g., Interested, Budget, etc.).
7. Review and Launch
Review Settings
Double-check all your configurations.
Create Campaign
Click Create to save the campaign.
Start Campaign
Once setup is complete, start the campaign from the campaign list.
Features
- Flexible Audience Upload: Import any contact list via CSV and map fields as needed.
- AI Voicebot Integration: Use advanced voice agents for automated, natural conversations.
- Custom Prompts: Personalize the initial message and qualification logic.
- Lead Qualification: Automatically tag and qualify leads based on responses.
- Analytics: Track delivery, response, and conversion rates in real time.
- Downloadable Reports: Export leads and campaign results as CSV.
- Status Tracking: Monitor campaign progress (Not Started, On Going, Completed).
Monitoring and Managing Campaigns
View Campaign Status and Analytics
- See detailed statistics: total participants, contacted, replied, failed, and conversion rates.
Download Lead Data and Call Transcripts
- Export results for further analysis.
Drill Down into Each Lead
- View call status, responses, and qualification details.
Tip: You can reuse CSV audiences for future campaigns and combine them with other integrations for multi-channel outreach.
Troubleshooting
The CSV upload fails or shows an error. Ensure the file is saved in standard CSV format (UTF-8 encoding). Files exported from Excel may use a different encoding or include BOM characters—use "Save as CSV UTF-8" in Excel. Also confirm the file has a valid header row and at least a phone number column.
Phone numbers are mapped but calls are failing.
Check that all phone numbers are in international format with the country code (e.g., +15551234567). Numbers without a country code, or formatted as (555) 123-4567, will consistently fail to connect.
The audience I uploaded is not appearing in the campaign dropdown. Audience creation and campaign creation are separate steps. If you created the audience after opening the campaign form, refresh the page. The audience list updates when the page loads.
The campaign is running but some contacts were skipped entirely. Contacts with blank or malformed phone numbers are automatically skipped during campaign execution. Review your CSV for missing values in the phone column and re-upload a corrected file.
Frequently Asked Questions
What is the maximum number of contacts I can upload in a single CSV? The maximum depends on your Kipps.AI subscription plan. Contact support to confirm the row limit for your account before uploading very large files.
Can I use the same CSV audience for multiple campaigns? Yes. Once a CSV audience is saved, it can be selected as the audience source for as many campaigns as you need. Edits to the audience after campaign launch do not automatically update running campaigns.
Can I add or remove contacts from a CSV audience after the campaign starts? You can edit the underlying audience, but changes may not affect a campaign that is already running. For the safest approach, duplicate the audience, make changes, create a new campaign, and retire the old one.
What fields other than phone number and name are supported in the CSV? You can include any additional fields in the CSV—these can be referenced in your System Prompt or Lead Qualification Params for personalization (e.g., city, product interest, company name).
Can I download the campaign results and combine them with the original CSV? Yes. Download the campaign results CSV from the analytics dashboard. The exported data includes the original phone number and name alongside call status, transcript, and qualification outcomes, making it easy to merge with your original file.
Related Articles