Google Sheet Trigger Node
Trigger a Workflow Campaign by pulling new leads from a Google Sheet, with step-by-step sharing, verification, and field mapping instructions.
The Google Sheet Trigger node pulls new rows from a Google Sheet in as leads. It's a good fit when your leads land in a spreadsheet — for example, from an ad platform's native Google Sheet export — rather than through a webhook.
One connected sheet is supported per node.
How It Works
- Unlike the API/Webhook and Incoming Call triggers, this node works by polling, not instantly: it checks the sheet every 5 minutes and fetches up to 10 new rows per check.
- New rows are picked up on the next poll after they're added — not the moment you type them in.
- On each fetched row, Kipps first creates or updates a contact by matching the mapped Phone Number column, then proceeds through the rest of the workflow for that lead.
- The trigger only polls while the campaign is started. No rows are fetched while the campaign is paused.
1. Add the Google Sheet Trigger Node
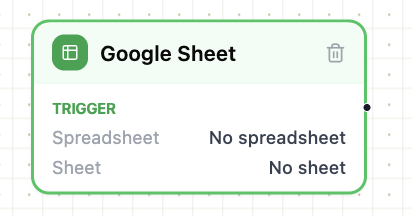
Open the Triggers group in the left NODES sidebar and drag the Google Sheet node onto the canvas.
2. Configure the Node
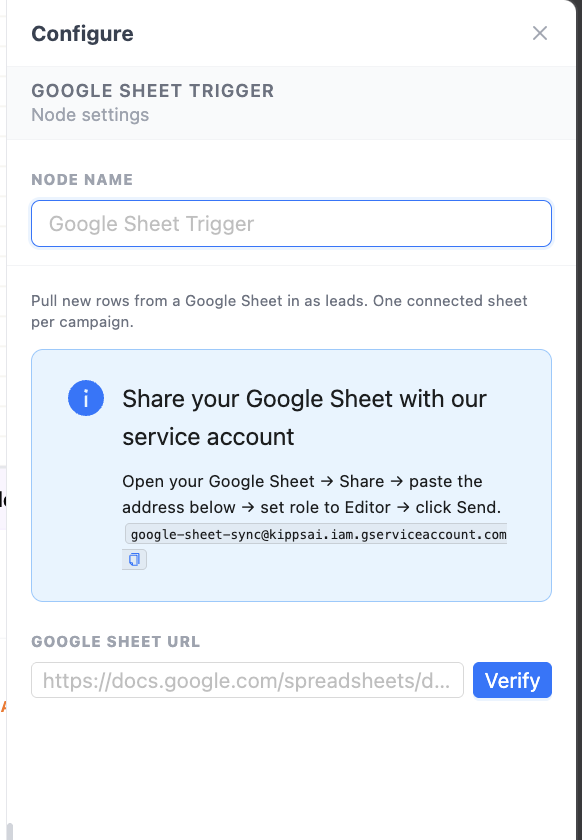
Double-click the node on the canvas to open the Configure drawer, and give it a Node Name that describes the sheet or lead source, such as "Meta Ads Google Sheet".
3. Share the Sheet with Kipps
Copy the service account email shown in the Share your Google Sheet with our service account box in the drawer.
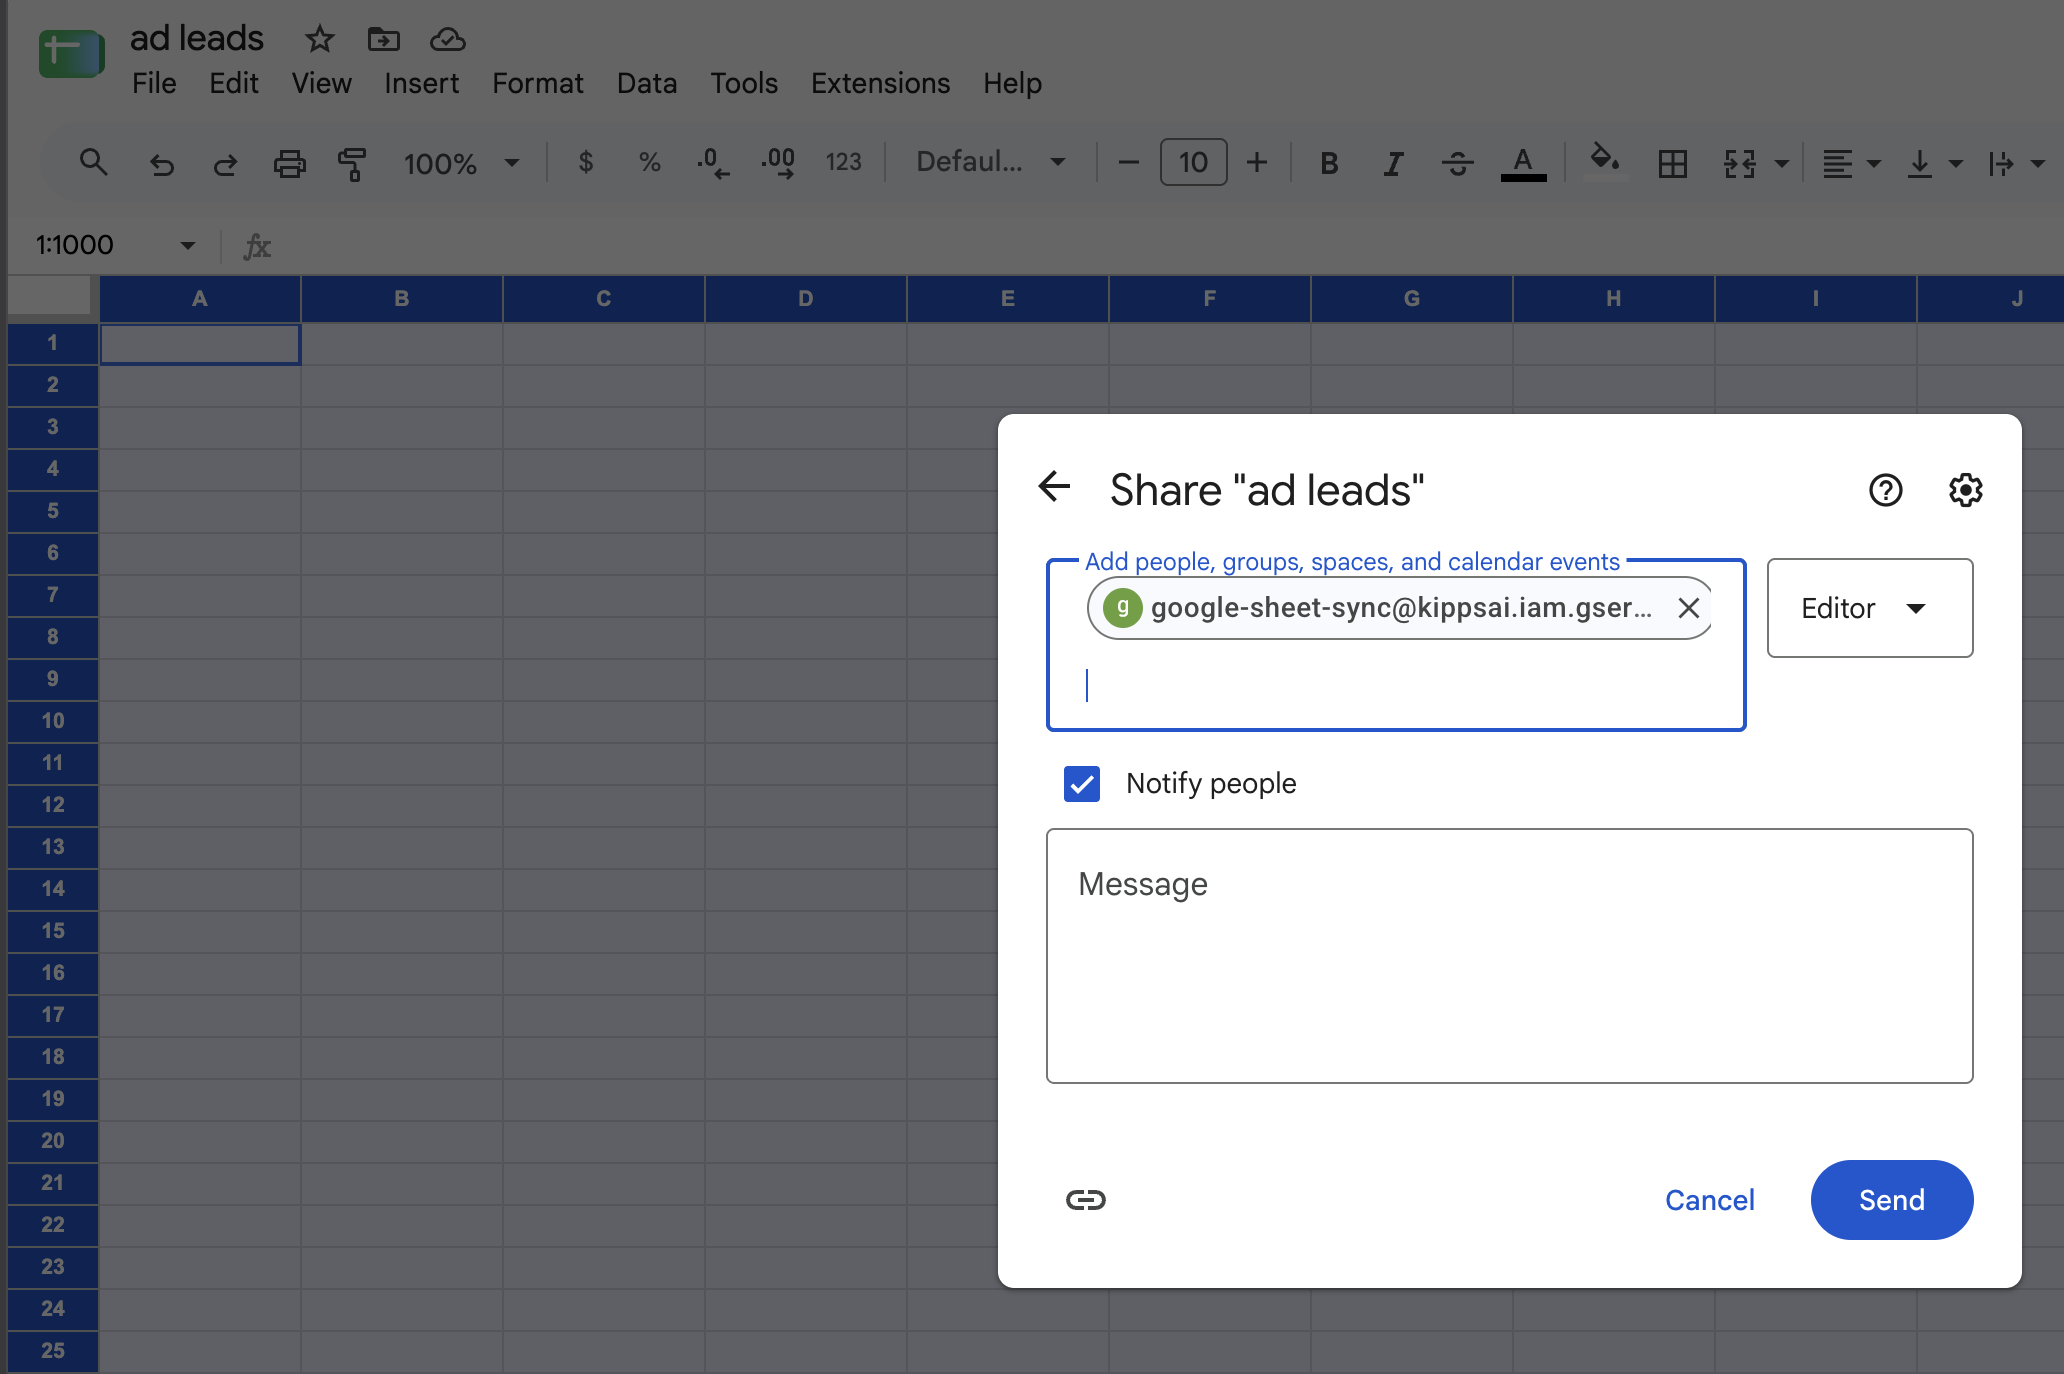
Go to your Google Sheet, click Share in the top-right corner, paste the email, set its role to Editor, and click Send.
4. Add the Google Sheet URL
Copy the URL of your Google Sheet from the browser's address bar.

Paste it into the Google Sheet URL field in the drawer and click Verify.
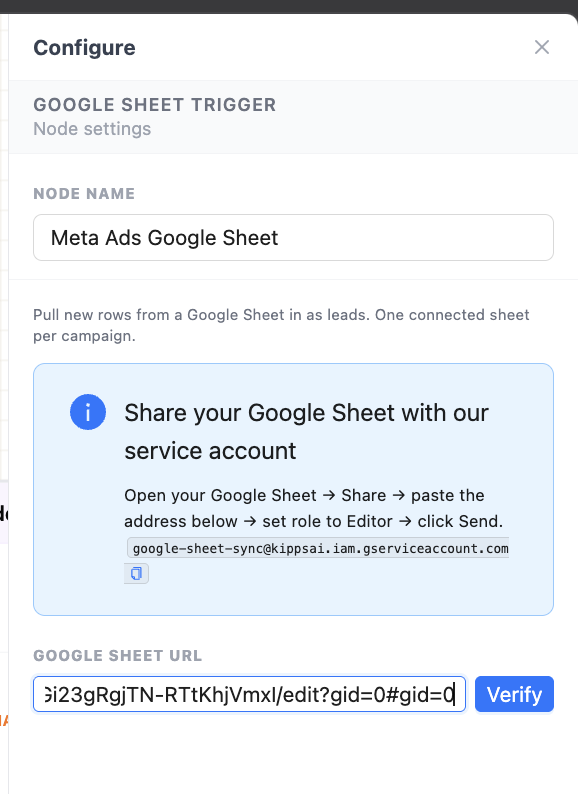
If the sheet was shared correctly, its name now appears under the Spreadsheet field.
5. Select the Sheet / Tab
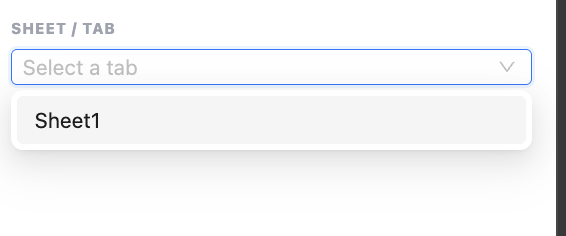
Click the Sheet / Tab dropdown and select the tab within the spreadsheet that contains your leads.
6. Field Mapping
If your Google Sheet doesn't have any column headers yet, field mapping will fail with "No headers found in this sheet" and the Save Google Sheet Trigger button stays disabled.
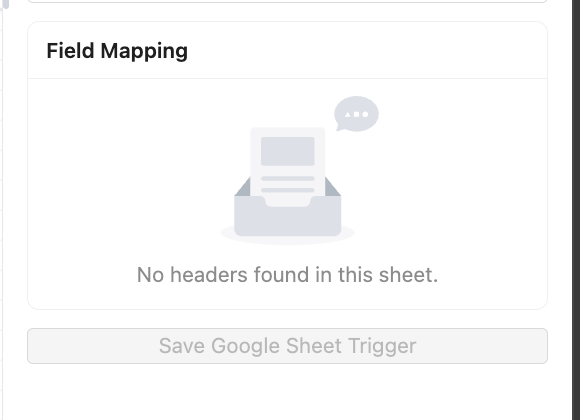
Go back to your Google Sheet, add a header row with your column names, then return to the drawer and click Verify again. The Field Mapping section now appears with a dropdown for each contact field.
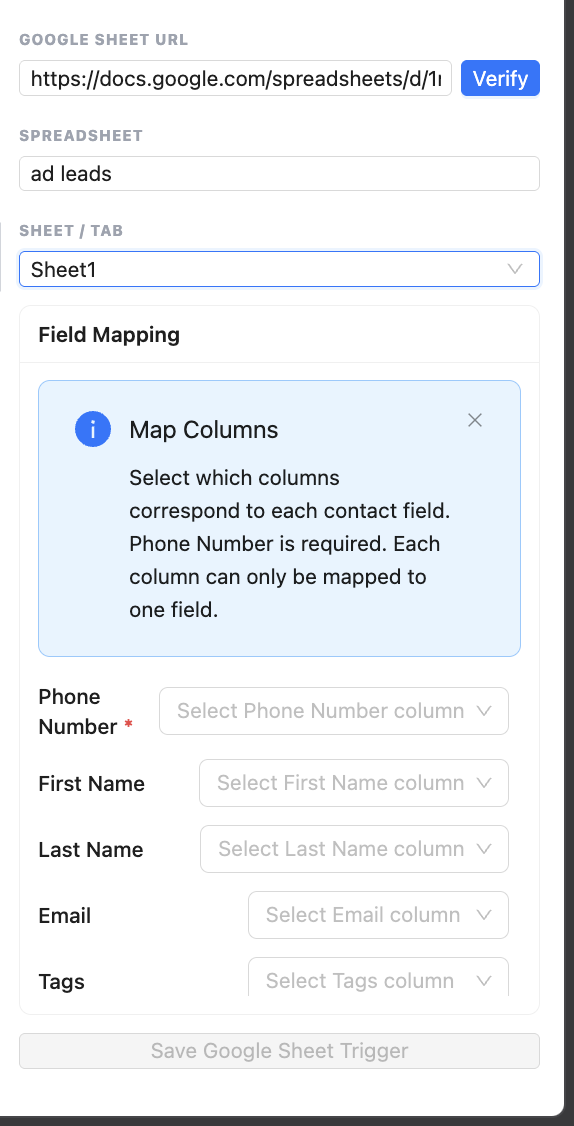
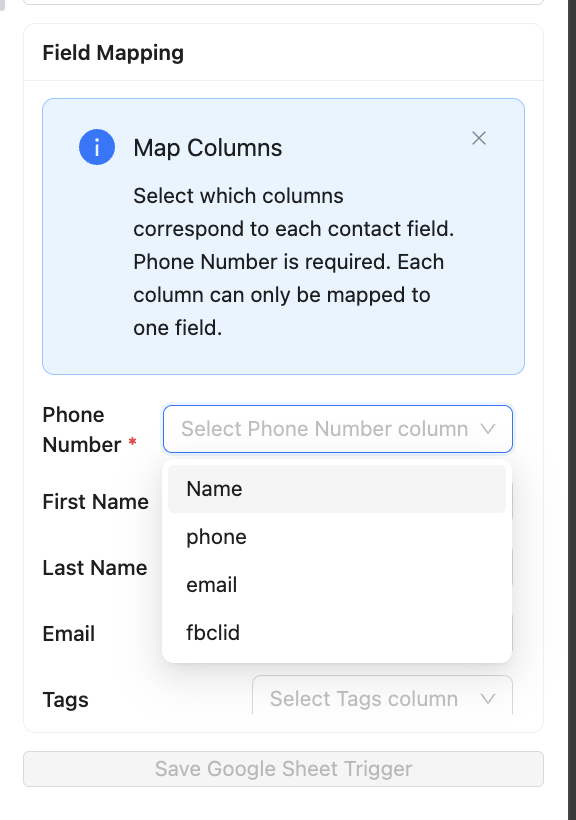
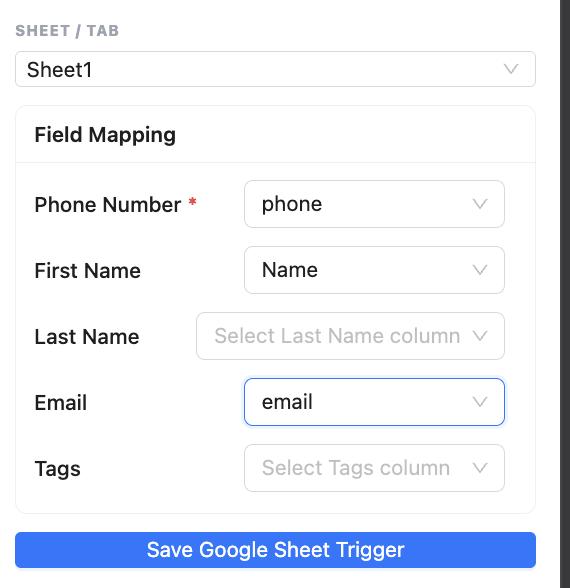
The left side lists the contact fields (Phone Number, First Name, Last Name, Email, Tags), and each dropdown on the right lists the columns from your Google Sheet. Map each one to the matching column — Phone Number is required, and each column can only be mapped to one field.
7. Save
Once your fields are mapped, click the blue Save Google Sheet Trigger button at the bottom of the drawer.
Frequently Asked Questions
1. How quickly does a new row in my sheet start the workflow?
Not instantly. This node polls the sheet every 5 minutes and pulls in up to 10 new rows per poll. A row added right after a poll runs will be picked up on the next 5-minute cycle rather than immediately — if you need immediate triggering, use the API / Webhook Trigger node instead.
2. What happens if I add more than 10 rows between polls?
Only 10 new rows are fetched per poll. Any remaining unfetched rows are picked up on subsequent polls, so a large batch of new leads will be pulled in over a few polling cycles rather than all at once.
3. Does this node create a duplicate contact if the same lead appears again in the sheet?
No. Kipps matches on the Phone Number column first — if a contact with that number already exists, its other fields are updated instead of creating a duplicate.
4. Will rows added while the campaign is paused be picked up?
No. Polling only happens while the campaign is started — rows added while the campaign is paused are not fetched until you resume it, at which point polling picks up again on its normal 5-minute, 10-rows-per-poll cycle.
Next Steps
Connect the node's Trigger output to an outbound action, such as the Phone Call node, to start reaching out to new rows as they're added to your sheet. See Contacts & Custom Fields to understand how the contacts created from your sheet rows are structured.
Related Articles